
Last updated November 20, 2026
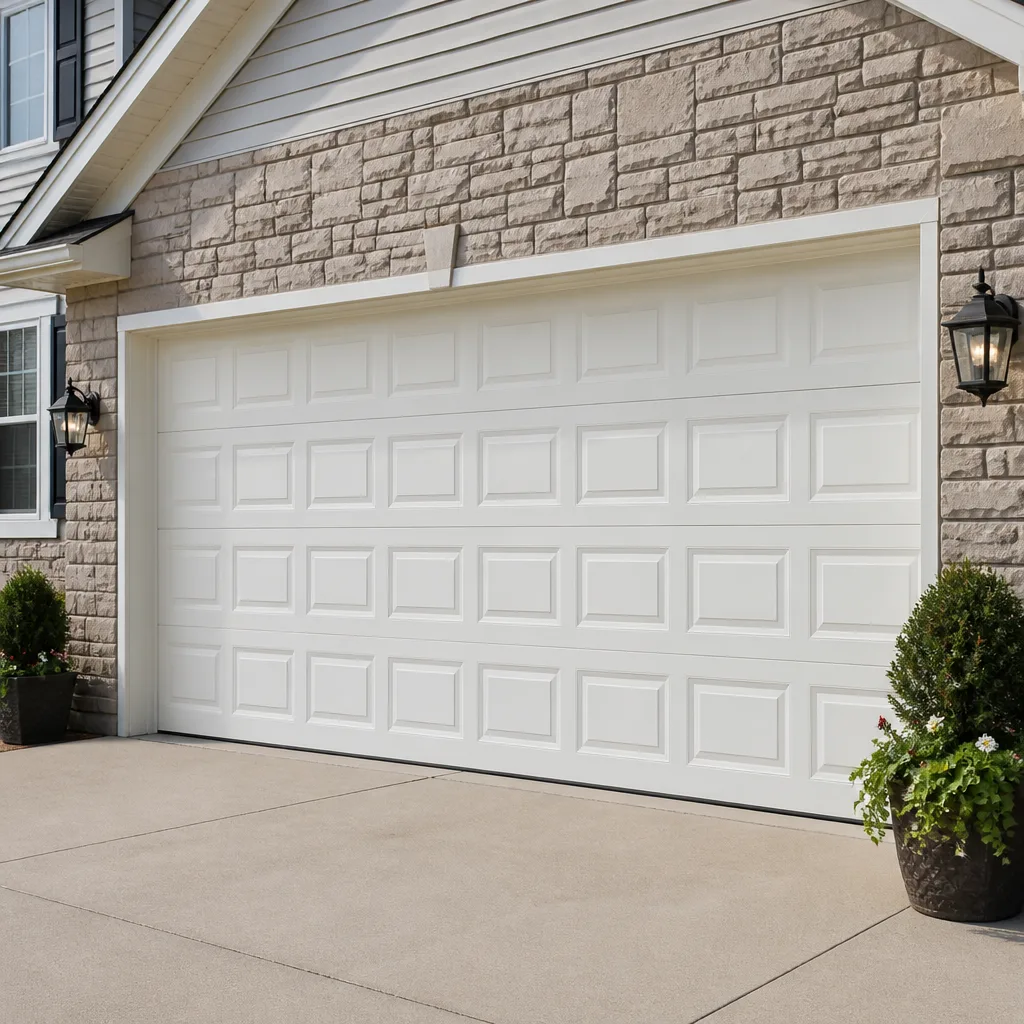 Raised-panel steel
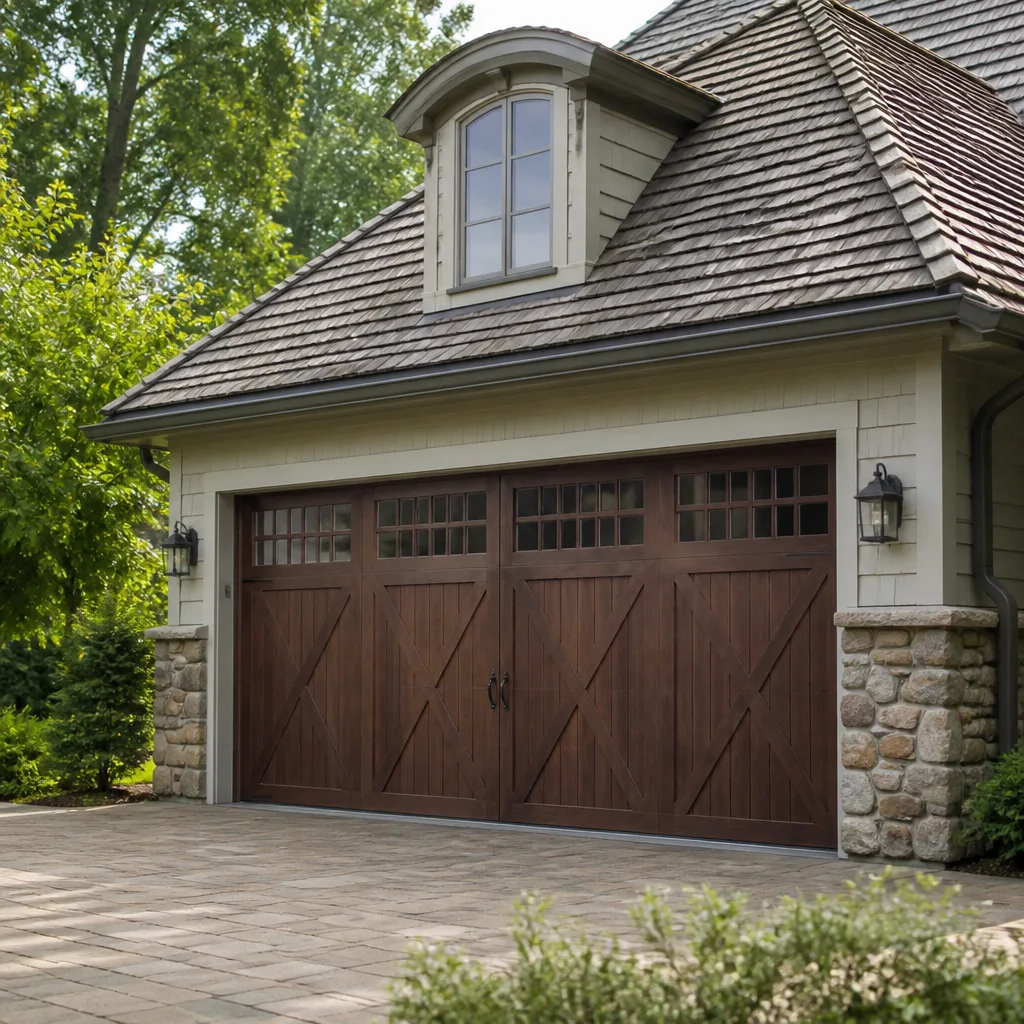 Carriage house
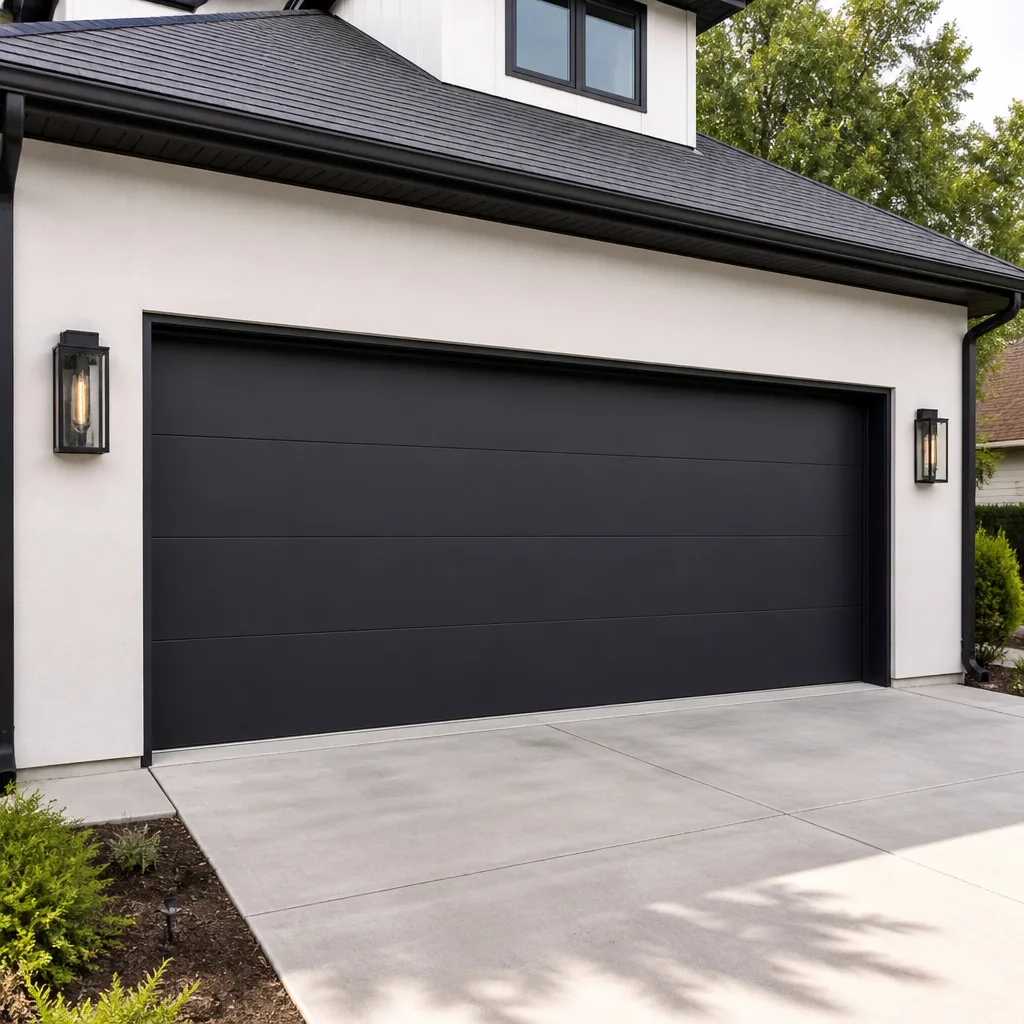 Modern flush
 Full-view glass
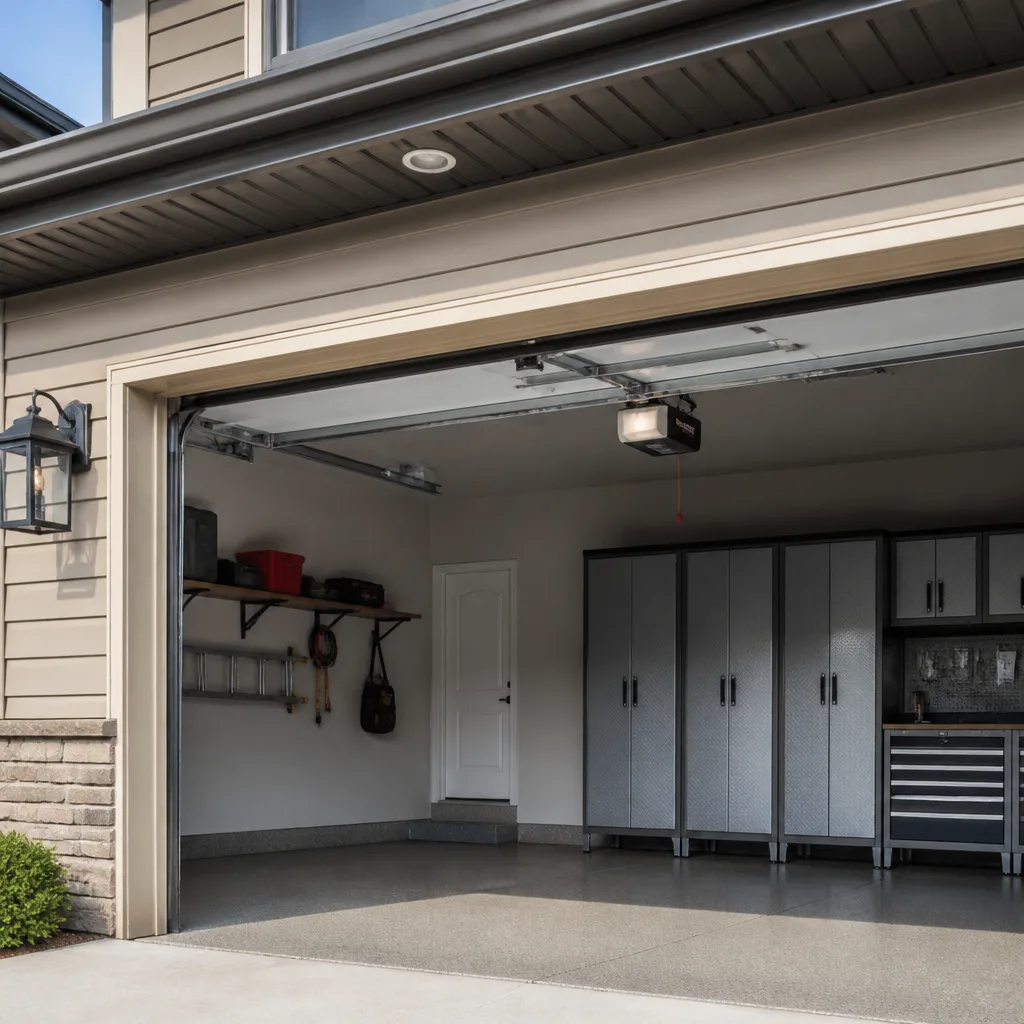 LiftMaster openers
 Chamberlain openers
Full 25-point door and opener safety check with every visit - springs, cables, rollers, tracks, and your LiftMaster or Chamberlain opener included
You get a price before we start. It does not change when the pro arrives.
Get your free estimateGarage Door Repair Maintenance Checklist for Linden Homeowners
A loose bolt on a bottom bracket is a five-minute fix. Left alone for a season, that same bolt can let the bracket shear off the door under spring tension, and now you’re looking at a much bigger repair. The difference between those two outcomes isn’t luck. It’s knowing which fasteners to check, how tight is tight enough, and what a bad result actually means. Most checklists tell you to “inspect for wear” and leave it there. This one is built around the pass/fail criteria a technician uses on a service call in Linden, so you can triage the problem yourself before you spend a dime on a visit.
Quick Answer
A garage door maintenance checklist for Linden homeowners should cover five things: springs and cables for visible damage, rollers and hinges for wear and lubrication, tracks for alignment and debris, the door’s balance and travel, and the opener’s force and safety settings. You run the checks monthly, log what you find, and stop immediately if a spring looks broken, a cable is frayed, or the door won’t stay balanced. Everything else is a judgment call you can make with the criteria below.
Styles & brands we work with
- Raised-panel steel
- Carriage house
- Modern flush
- Full-view glass
- LiftMaster openers
- Chamberlain openers
Table of Contents
- Why a Checklist Beats a Guess in Linden
- Springs and Cables: The Pass/Fail You Never Touch
- Rollers, Hinges, and Fasteners: What Tight Actually Means
- Tracks and Alignment: Reading a Door That Drifts
- The Monthly Balance Test and What It Tells You
- Opener Force and Safety Settings: The Part Most Owners Skip
- Lubrication Map: What Gets Oil, What Gets Nothing
- How to Log Findings So a Technician Can Diagnose Faster
- Stop-and-Call Triggers: When to Put the Tools Down
Why a Checklist Beats a Guess in Linden
Garage doors fail slowly before they fail suddenly. The hardware tells you it’s going long before the door stops working, but only if you know which signals matter. In Linden, the seasons push on doors in a specific way. Summer heat expands the steel tracking and softens grease so it runs and collects grit. Winter cold contracts everything and makes old lubricant stiff. A door that ran quietly in July can start grinding in January without a single part having changed, and a checklist run on the same schedule month to month is how you catch that difference before it turns into a snapped cable.
Housing stock matters here too. Many Linden homes have older single-car and two-car doors with original hardware, and the rollers, hinges, and opener units on those doors are often a decade or more past their expected service life. That doesn’t mean replace them. Most of the time it means adjust, lubricate, and replace the one worn part. But you have to know what “worn” looks like on your specific door to make that call, and that’s what this guide gives you.
When you find something worth a second opinion, you don’t have to guess at who to call. You can look into Linden Garage Door Repair Pros and describe exactly what you found, and the same criteria you’re using next to the door is what a technician will use on arrival. That’s the whole point of self-triage: fewer wasted visits, faster fixes, and no surprise replacement estimate for a part that only needed adjustment.
Springs and Cables: The Pass/Fail You Never Touch
This is the section where the checklist stops being something you fix and starts being something you observe. Torsion and extension springs store enormous force. A garage door spring can be under hundreds of pounds of tension while the door is closed, and releasing that tension without the right winding bars and training is a well-documented way to lose fingers or worse. Do not attempt to adjust, lubricate under tension, or replace a spring or cable yourself. Read the pass/fail below to decide whether you need help today.
Springs, pass or fail:
- Pass: A clean, unbroken coil with no visible gap, and the door holds position when you lift it halfway. A thin film of dust is normal.
- Fail: A visible gap of a few inches in the coil, especially near the center or the end of a torsion spring. That’s a broken spring, and the door should not be operated.
- Fail: The door feels unusually heavy when you lift it by hand, or the opener strains audibly. This points to a spring that’s lost tension or is failing.
- Caution: Rust streaks along an extension spring mean the wire is thinning. It’s time for a technician to look, not a fall-on-your-sword emergency, but don’t wait months.
Cables, pass or fail:
- Pass: Cable sits evenly in its drum or pulley, snug against the door, with no fraying at the ends.
- Fail: Any broken strand, “bird-caging” (where the cable kinks and separates), or a cable that’s jumped off the drum. A door with a loose or frayed cable is not safe to run.
If you’re in Linden and you’re looking at a broken spring right now, that’s the moment to stop and call rather than keep reading. Our spring repair service is handled by technicians trained for it, and it’s the one repair on this checklist we never suggest homeowners touch. That single call covers the whole job if you’re ready for it.
Rollers, Hinges, and Fasteners: What Tight Actually Means
A roller doesn’t have to look broken to be failing. It has to roll smoothly, sit fully in its hinge, and move quietly along the track. When you find a roller that skips, grinds, or has a flat spot on the wheel, that’s your fail. Same goes for hinges: a hinge with a bent arm, a stripped screw hole, or a hinge plate that wobbles when you push it is on its way out. These are parts you can replace yourself with basic tools, and our team stocks the common sizes if you’d rather not order them yourself.
How tight is tight enough on a garage door? This is where people get it wrong in both directions. Snug, not jammed. Fasteners on hinges, brackets, and roller plates should be firm enough that the part won’t move by hand, and no more. Over-tightening cracks the metal, strips the screw hole in the door panel, and puts more stress on the panel than the door was designed to carry. Under-tightening lets the hardware rattle loose over a season, which is exactly how that bottom bracket ends up bearing spring force it was never meant to hold. If a bolt moves easily with a gentle hand on a normal wrench, it’s snug. If the wrench needs real force to turn it further, stop.
Check these every month:
- Rollers: roll each one by hand along the track. It should spin freely and sit level.
- Hinges: push each hinge arm sideways. Any play lets you know the pivot or screws are loose.
- Bottom bracket: look at the bolts on both ends. They should be snug against the door skin, with no light gap.
- Top brackets and track brackets: visually check for cracks radiating from the bolt holes.
These fasteners are safe to check with the door down and the opener disconnected. Never reach for a spring, cable, or bracket while the door is up and under tension.
Tracks and Alignment: Reading a Door That Drifts
Tracks should run parallel to each other and to the sides of the door, with an even gap on both sides. That even gap is the whole test. If the door is closer to the track on the left when it’s half up and farther on the right, or if the door visibly shifts sideways as it travels, something is out of alignment. Tracks get bumped by a car, leaned on during yard work, or expand and contract through Linden’s temperature swings until a bracket works loose. You don’t need special tools to spot it, but track adjustment is one of those jobs where a bad fix makes things worse fast.
What to look for:
- Even gap: With the door down, sight down each track against the door edge. The gap should look the same the full length of the track on both sides.
- Bent track: Find it by moving the door by hand partway up and watching for the roller pulling away from the track.
- Debris: Leaves, grit, and small stones collect at the bottom of the vertical tracks outside, especially in fall and winter. A seasonal wipe-out prevents most grinding.
- Bracket movement: Push gently on each track bracket. A wiggle means it’s loose.
A door that drifts consistently to one side and rubs the track has a bigger problem brewing. Usually it’s a weakening spring on one side, a loose track bracket, or both. It’s the kind of thing worth diagnosing properly, which is why our garage door repair service exists as a standalone call rather than a piece of a larger visit. When a door is running on tracks that are out of alignment, every cycle puts extra wear on the rollers, hinges, and opener motor.
The Monthly Balance Test and What It Tells You
The balance test is the single most useful thing you can do on your own, and almost nobody knows about it. It tells you whether your springs are doing their job and your opener’s motor is under unnecessary strain. Do it once a month, and do it with nothing in the path of the door and no one else in the garage.
How to run the balance test:
- Pull the manual release cord to disconnect the opener from the door. The cord is the hanging handle on the opener rail.
- Lift the door by hand to about waist height and let go. Don’t push it up – just bring it there and release.
- Watch what happens over a few seconds.
- Reconnect the opener by running it up and back down once until it re-engages the carriage.
Pass: The door floats in place or drifts only slightly. That’s a door that’s balanced, and it means the springs are carrying their half of the weight. Your opener is doing only its job, which keeps the motor cool and the lifetime long.
Fail: The door falls quickly, drops all the way down, or slams hard. That’s a door with failing springs or too much drag. Keep running it and the opener motor is doing the work the springs should be doing – that’s how opener gears strip and motors burn out. A door that rises on its own is a rarer fail, but it’s just as serious.
If you’ve got a LiftMaster or Chamberlain opener doing the lifting, the balance test is doubly worth doing: those units are built to last, and the most common reason they fail early is a door that was never in balance to begin with. Fix the door and the opener often runs for years more.
Opener Force and Safety Settings: The Part Most Owners Skip
Every modern opener has a force setting and a reverse setting, and both are adjustable. The force setting controls how hard the opener pushes and pulls. The safety reverse setting controls how quickly the opener reverses when it hits something or when the safety eyes detect an obstruction. These are the two settings that will trip you up if you’ve had a LiftMaster or Chamberlain or Genie unit installed and never touched them since.
Test the safety reverse: With the door open, place a roll of paper towels flat on the ground in the door’s path. Close the door with the remote. The door should hit the roll and reverse before it makes heavy contact. If it presses on the roll and keeps going, the reverse setting needs attention. Also test the safety eyes by holding your foot between them – the door should not close.
Test the force: You can’t measure it directly, but you can feel it. Stand at the door and press the wall control with your hand flat against the bottom edge of the door, pushing back gently. The door should reverse within a second or two. If you have to push hard for the door to reverse, the force is set too high.
A door that reverses only with effort or slams down before reversing is a door that could hurt someone, or damage the panel, or trigger a false reversal that leaves a car stranded. Our garage door opener repair service covers Genie and Craftsman openers as well as the two brands already named, and the force and reverse settings are checked on every visit.
Lubrication Map: What Gets Oil, What Gets Nothing
This is the checklist item that goes wrong the most, because almost everyone reaches for WD-40. Here’s what to use instead: a white lithium grease or a dedicated garage door lubricant, sprayed or wiped onto the parts below. Do not use regular WD-40. It’s a solvent and a thin penetrating oil, not a lubricant, and it will strip the factory lubricant off your moving parts and leave them squeaking worse within weeks. Same goes for silicone spray on hinges, which does nothing for the pin wear you’re trying to prevent.
Lubricate:
- Hinge pivots: one short spray at each hinge pin, then work the door up and down to distribute.
- Roller bearings: not the tire of the roller, the bearing at the stem. A drop or two, not a coat.
- Track: a thin film inside the curve of the track, not the face. Excess grease in the track collects grit and turns into grinding paste.
- Springs: only the coil, and only a light coat, and only with the door in the position the manufacturer allows. If you’re unsure, skip it and leave springs to a technician.
- Bottom bracket pivot and center hinge pins: a touch each.
Do not lubricate:
- The opener rail: grease on the rail causes the trolley to slide instead of roll and eventually damages it.
- The safety eyes or photo-eye lenses: wipe them clean, don’t coat them.
- The cables: they run dry inside the drum, and grease attracts grit to the wire.
Lubricate every two to three months, or at the change of seasons in Linden, whichever comes first. A light coat, not a heavy one. If you can see buildup, you’ve used too much.
How to Log Findings So a Technician Can Diagnose Faster
Here’s the habit that changes the game: keep a note of what you found and when. The date, the component, what you saw, and what you did. A line in a notebook or a note on your phone is enough. If you’ve been leaving a note on the shelf next to the opener, that’s even better, and it’s exactly what our technicians want to see on a service call.
Why it matters: a single check is a snapshot, and a snapshot can’t tell you whether a problem is new or has been there for a year. A log turns a snapshot into a trend. A hinge that’s been getting looser for three months means one thing. The same loose hinge with no history means the technician has to start from scratch. With the log, they don’t. They know it’s a stage in a progression, and they can check what that progression implies for the parts nearby.
What to log:
- Date and result of each balance test. Pass or fail, plus any observations about drift.
- Which parts you tightened. If a hinge needed turning every month, that’s a hinge in trouble.
- Any new noise, and where it comes from. Left side, right side, top, bottom. All of this narrows the diagnosis.
- The month you last lubricated, and how much you used. If a part starts squeaking three weeks after a proper lube, that part is worn.
- Any part you replaced, with the brand. A Clopay roller doesn’t always play well with a generic replacement of a different size.
When you call a technician in Linden, this log is worth more to them than a description alone. It costs you nothing to keep, and it often cuts the diagnosis time on the visit enough to be worth the effort.
Stop-and-Call Triggers: When to Put the Tools Down
Some findings are DIY-manageable. A grinding roller needs a replacement you can do yourself. A loose hinge screw needs a turn of the wrench. Others are a strict hands-off, because continuing to touch them creates injury risk. Here’s the dividing line:
Call a professional immediately, do not operate the door:
- A broken spring, torsion or extension, with visible gap in the coil.
- A frayed or snapped cable, or a cable off its drum.
- A bottom bracket that’s cracked, bent, or visibly separated from the door skin.
- A door that falls under its own weight when you release it during the balance test.
- Any part that moved when you pushed on it that shouldn’t have moved, especially if it’s under tension.
Worth a call but can wait until you’ve logged it:
- A grinding roller or noisy hinge you haven’t been able to quiet with grease.
- An opener that reverses inconsistently or has started tripping a breaker.
- A track that’s visibly bent or that the door rubs against.
- A door that drifts to one side more than a hair on any cycle.
Safe to fix yourself:
- Tightening loose hinge, roller, or bracket screws (not spring-related).
- Lubricating hinges, roller stems, and track face.
- Cleaning debris out of vertical tracks.
- Replacing a single roller or hinge with a same-size part from the brand you own.
The rule of thumb: if it’s under spring tension, you don’t touch it. If it rolls, bolts on, or slides in a track, you can inspect it and often fix it. If you’re not sure which group a component belongs to, that’s a good sign to call and describe it. We can tell you over the phone whether it’s safe to keep using the door in the meantime.
Common Mistakes to Avoid
- Using WD-40 as a lubricant. It’s a solvent, not a garage door lubricant. It strips the factory lube off the hinges and roller stems and leaves them squeaking worse within a month, which sends people back to the can and starts a cycle.
- Over-tightening fasteners. Snug is the goal, not cranked-tight. Overtorquing a hinge or bracket cracks the door skin and creates a much bigger repair than the loose bolt you started with.
- Skipping the balance test. It’s the fastest way to catch an opener motor that’s doing the springs’ work, and skipping it is how LiftMaster and Chamberlain openers burn out years before they should.
- Ignoring a drifting door. A door that pulls to one side seems harmless until it wears a groove in the track or binds on a hinge. In Linden, a winter of expansion and contraction is long enough to turn a small alignment issue into a real one.
- Replacing a part without logging it. A new roller that fails again in three months tells you something, but only if you know it’s new. Without the log, it’s just a mystery.
- Greasing the opener rail. This is a specific mistake: grease on the rail makes the opener’s trolley slide rather than roll, which drags the door and wears the motor. Grease the hinge pins, not the rail.
- Trying to service the springs. This is the mistake with real consequences. A broken spring is under enormous stored force even after it’s broken, and spring service is not a DIY job. Watch for it, log it, and call.
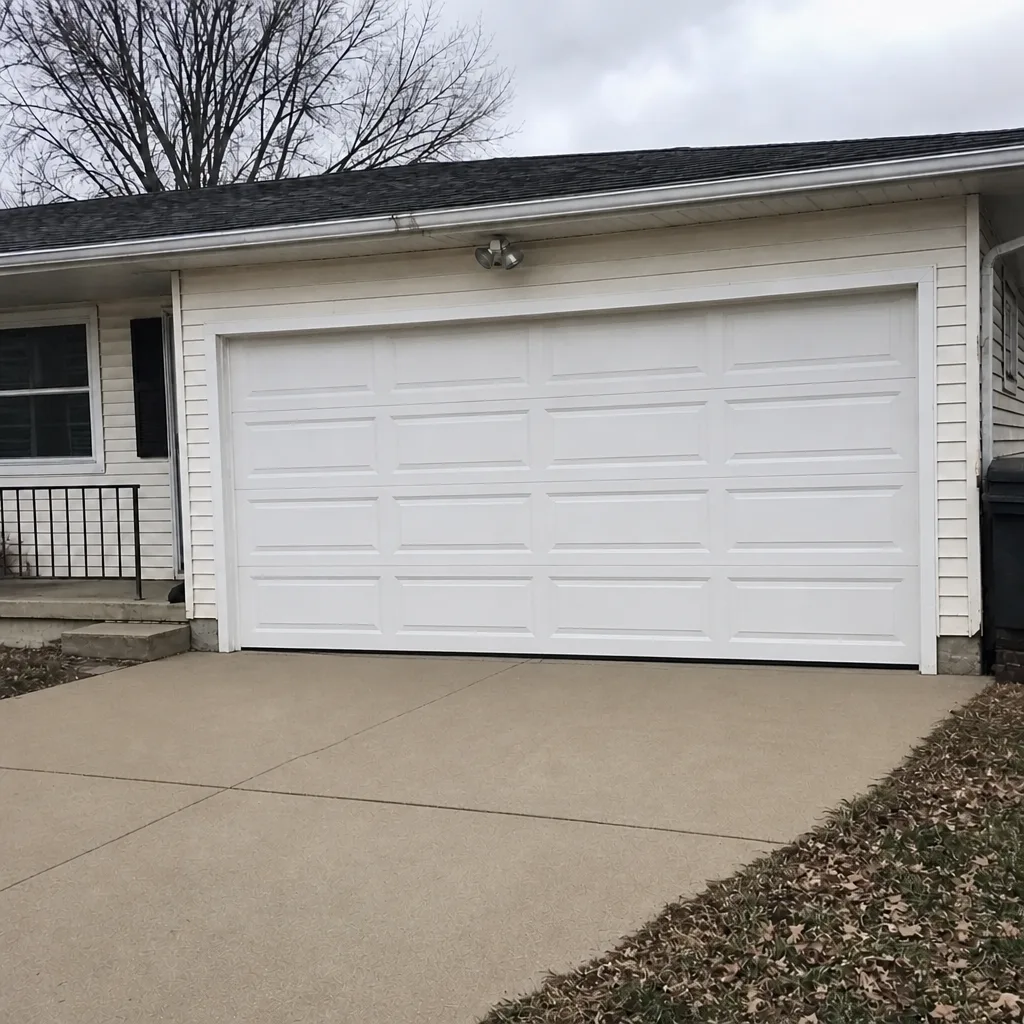
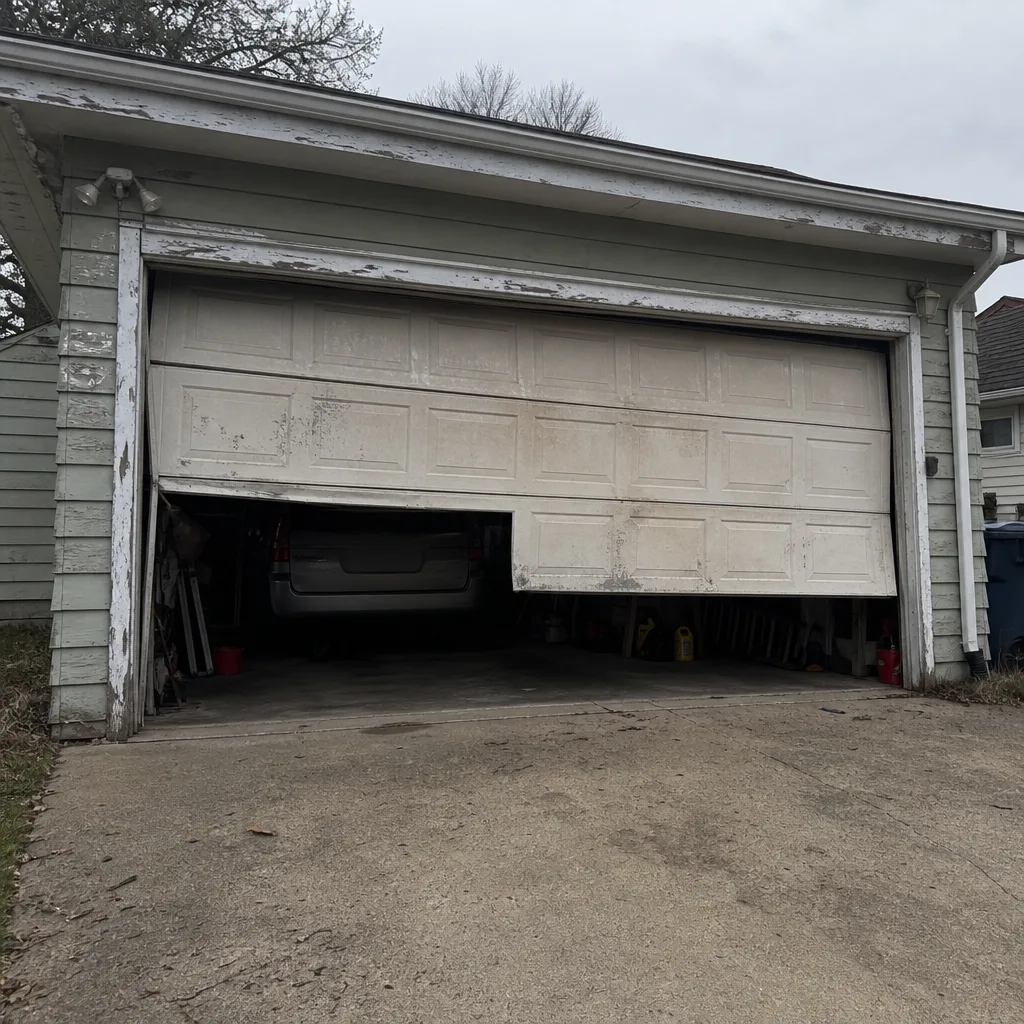
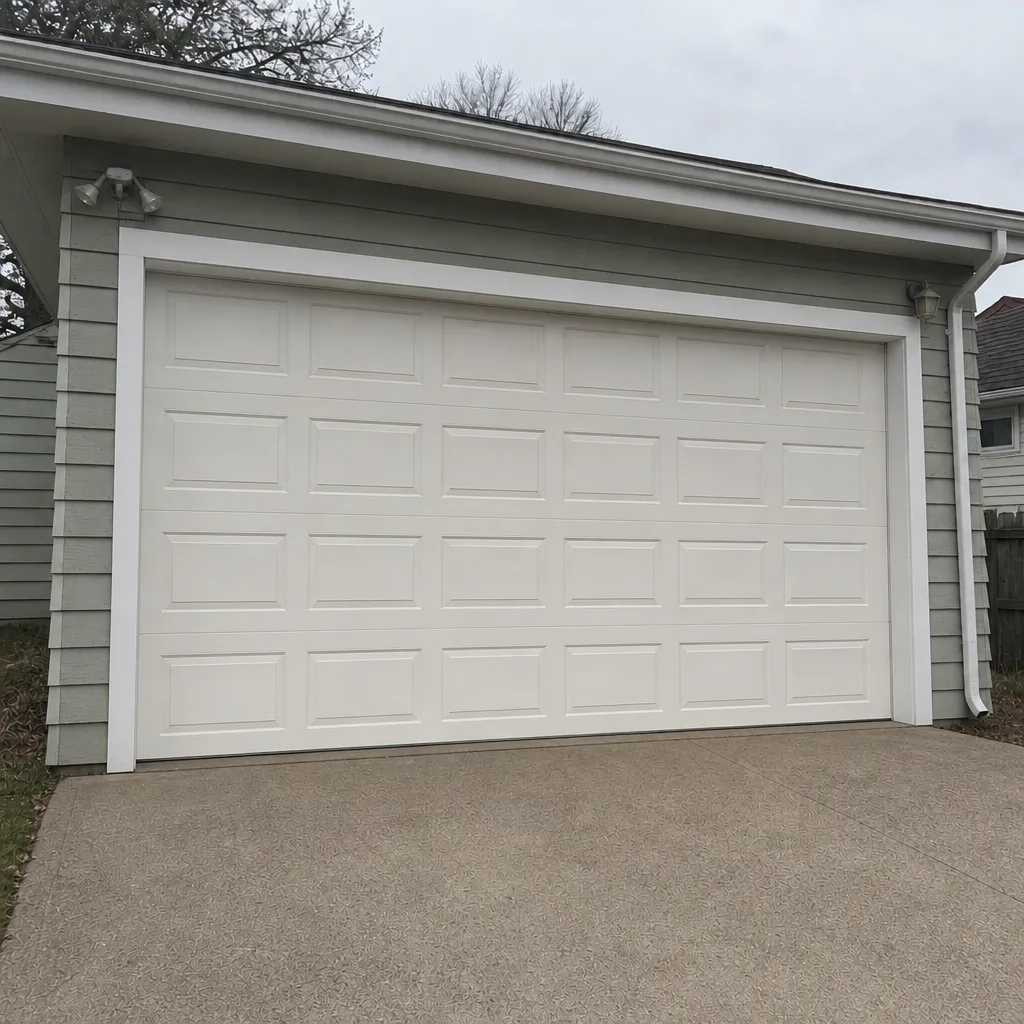
See the difference
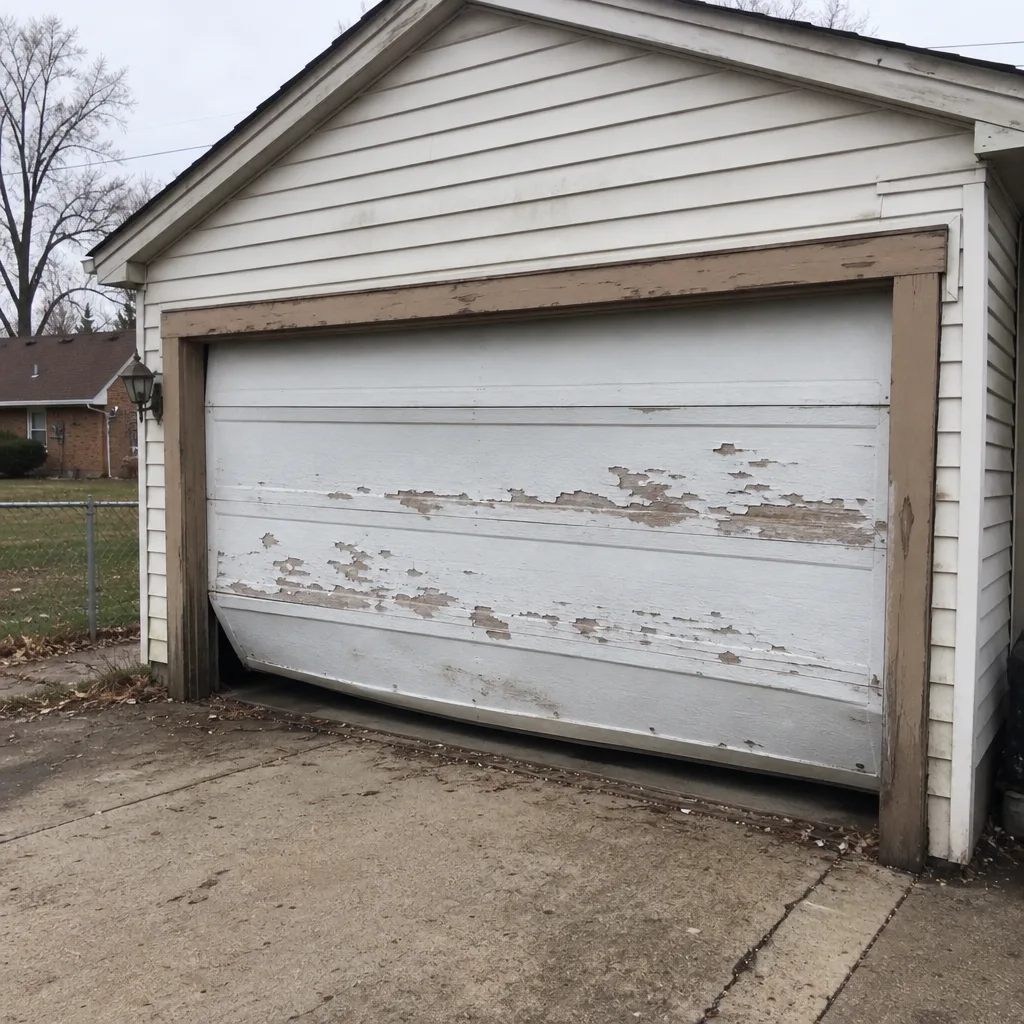 Before
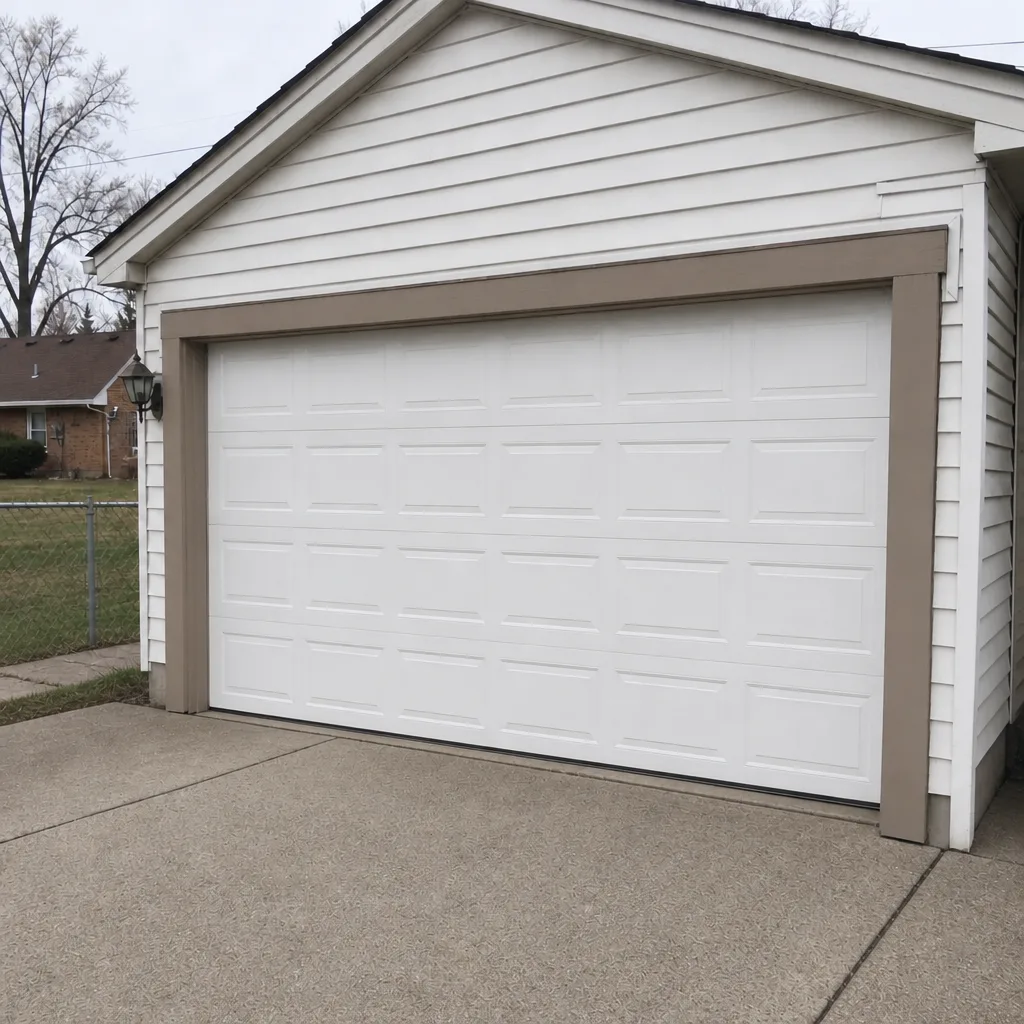 After
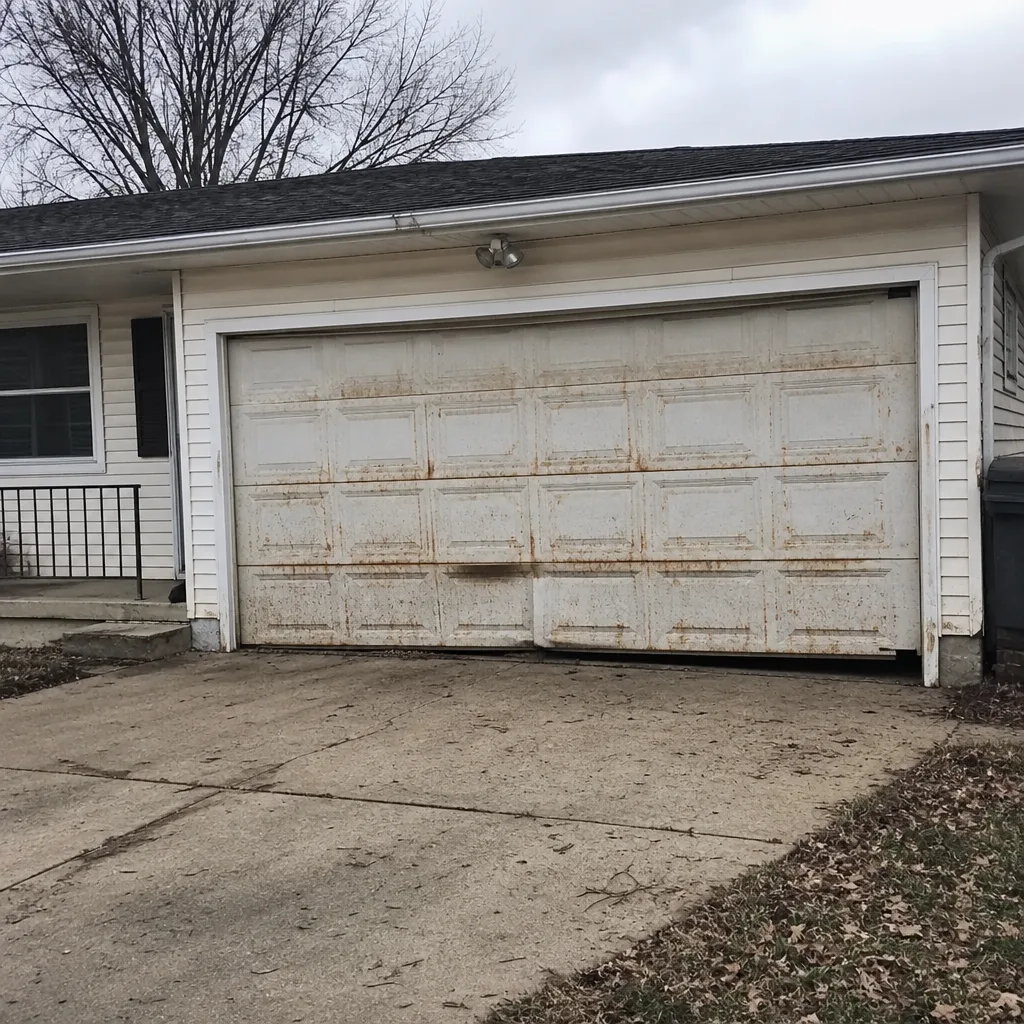 Before
 After
 Before
 After
When to Call a Professional
Call when the checklist finds something in the red – broken spring, frayed cable, bent bracket, a door that won’t hold itself up on the balance test. Call when the same part keeps needing attention every month; that’s a part telling you it’s done. Call when the opener’s safety reverse or force setting doesn’t respond to adjustment, when the door visibly drifts, or when you’ve got a Clopay or Amarr door with a panel that’s been hit and you want a matched replacement rather than a mismatch. And call when you’ve checked everything and it’s still noisy, because that’s the moment a trained ear on-site saves you time.
Linden Garage Door Repair Pros offers free estimates in Linden – call (877) 330-4873. We answer 24/7. Fast dispatch from 7am to 7pm, Sunday through Friday. Our technicians have up to 13 years of experience and work on the eight major brands – LiftMaster, Chamberlain, Genie, Clopay, Amarr, Wayne Dalton, Craftsman, and Raynor – so the door in your garage is likely already familiar to them.
Frequently Asked Questions
Run the quick checks monthly and the balance test once a month without fail. Do a full lubrication pass every two to three months, or at the turn of each season, since Linden’s temperature swings are what push the hardware. The point of a monthly check is to catch a change on the first cycle, not after a part has failed.
The balance test is a manual check of whether the springs are carrying the door’s weight. Disconnect the opener with the release cord, lift the door to waist height, and let go. A pass is a door that floats in place or drifts only slightly; a fail is a door that drops quickly or slams. If it fails, call (877) 330-4873 for an exact quote – estimates are free.
Yes, on the parts that aren’t under spring tension. Hinges, roller stems, and the inside face of the track are safe to lubricate with a white lithium grease or a dedicated garage door lubricant. Avoid WD-40, avoid the opener rail, and leave the springs to a trained technician. If a part still squeaks after a proper lube, that part is worn.
Often not. Grinding usually comes from a dry or worn roller, a dry hinge pin, or debris in the track. A spring makes a loud snap when it breaks, and a stretched or weakening spring often shows up as a heavy door on the balance test rather than a grinding noise. If the noise is one-sided or gets worse as the door travels, log which side and call so the technician knows where to look. Call (877) 330-4873 for an exact quote – estimates are free.
Most cities require a permit for a full door replacement but not for routine repair or parts replacement. The actual rules vary, so check with the city of Linden’s building department before scheduling a replacement. Our team can help you understand what the scope of a job will be. Call (877) 330-4873 to talk it through.
Most of the time the opener can be saved, especially if it’s a LiftMaster or Chamberlain that’s tripping on one of the two settings in this guide. Force and reverse settings are adjustable, and a door that’s out of balance is the most common cause of a “bad” opener. A technician will test the door first and only look at the opener once the door is ruled out. Call (877) 330-4873 for an exact quote – estimates are free.
The Bottom Line
Garage door maintenance isn’t complicated, but it depends on knowing what you’re looking at. The five things that matter most are springs and cables (inspect, never touch), rollers and hinges (snug, not cranked), tracks (even gap, no debris), the balance test (monthly, pass/fail), and the opener’s force and reverse settings (check, don’t assume). Log what you find so a technician can see the trend. Use white lithium grease, never WD-40, and never grease the opener rail. And when a spring, cable, or bracket shows a fail, stop and call. The rest of the checklist is yours. If any of it points to a repair, our garage door installation team can also walk you through whether a targeted fix beats a full replacement on your specific door – and we don’t push replacement when a repair will do.
Contact Us
If the checklist turned up something you’re not sure about, or you’d rather have a trained eye confirm what you found, call (877) 330-4873 for a free estimate. We answer 24/7. Fast dispatch from 7am to 7pm, Sunday through Friday. Our technicians have up to 13 years of experience and work on the eight brands – LiftMaster, Chamberlain, Genie, Clopay, Amarr, Wayne Dalton, Craftsman, and Raynor – so the diagnosis starts with the system you already have. Parts on hand means most repairs are finished in a single visit. Call today and we’ll set up a time that works.
Written by the team at Linden Garage Door Repair Pros.